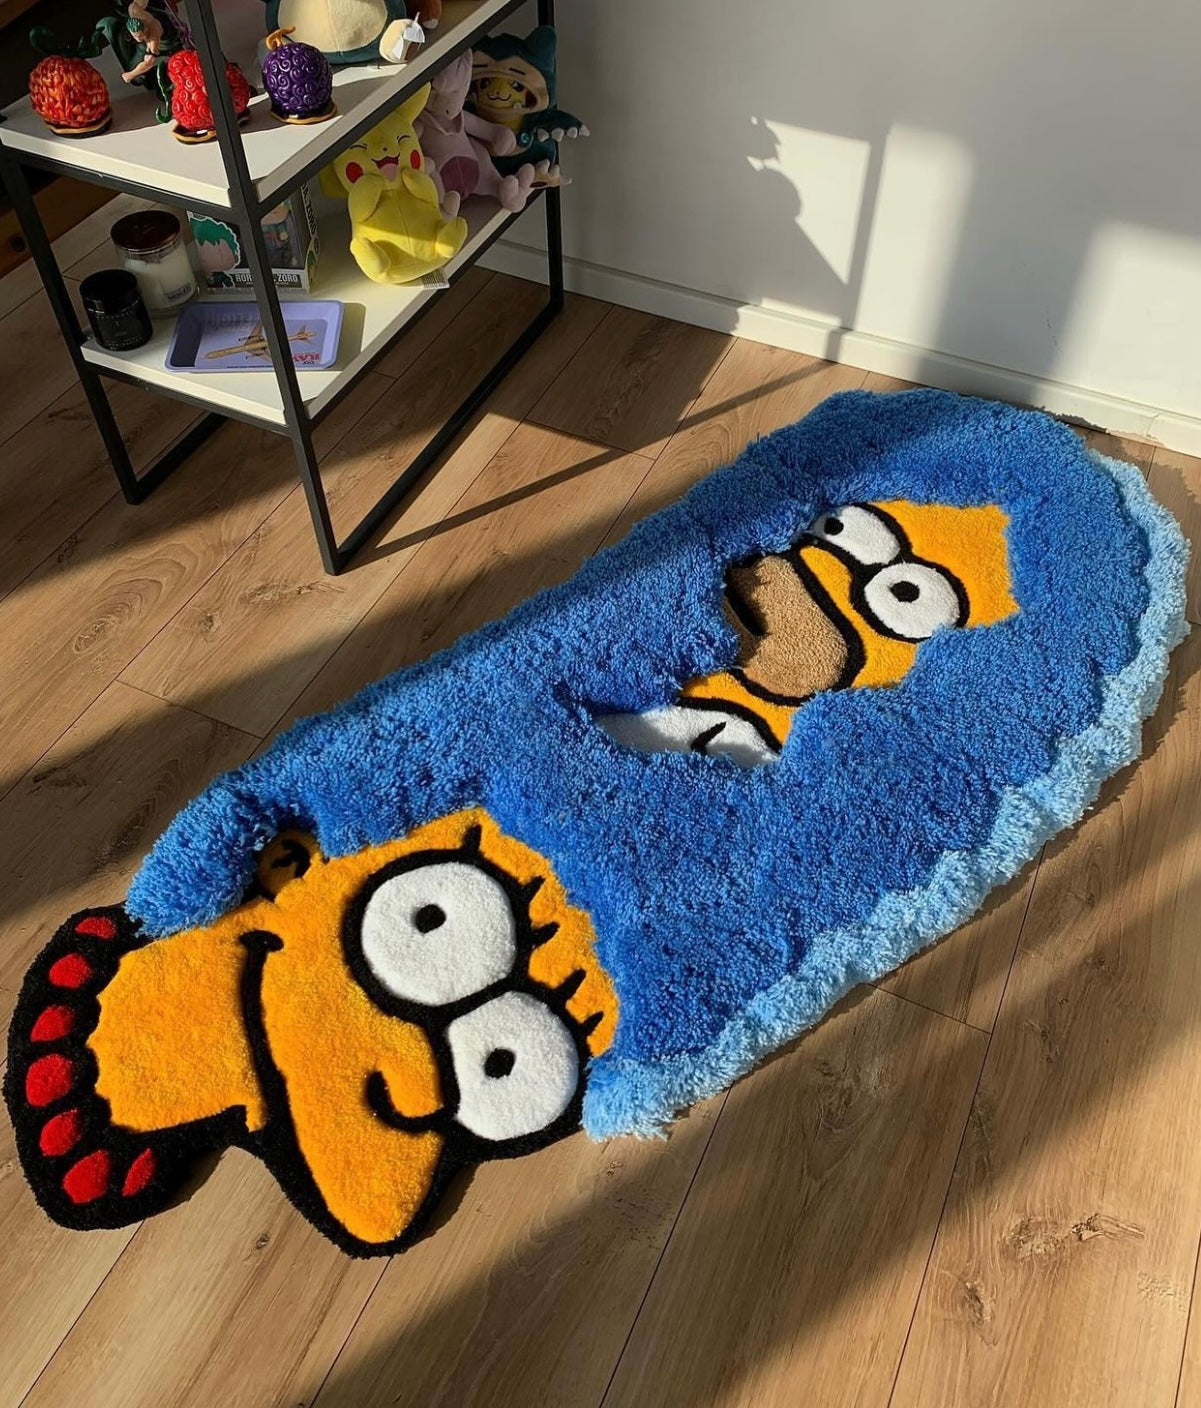
Custom Rug Making Step By Step Tufting For Beginners
Step-by-Step Guide to Tufting Your Own Custom Rug
Introduction: Tufting is a versatile and popular technique for creating custom rugs with unique designs and textures. In this guide, we'll take you through the step-by-step process of tufting your own rug, from selecting materials to finishing touches.
Step 1: Gather Your Materials
- Rug tufting gun: Choose a tufting gun suitable for your project size and budget.
- Rug backing: Select a sturdy backing material such as monk's cloth or rug canvas.
- Yarn: Pick yarn in your desired colors and textures. Consider the thickness and durability of the yarn for your intended use.
- Rug frame: Use a rug frame or stretcher bars to hold your backing material taut while tufting.
- Scissors: Have sharp scissors on hand for cutting yarn and trimming tufted loops.
Step 2: Prepare Your Workspace
- Set up a clean and well-lit workspace with enough room to maneuver your rug frame and tufting gun.
- Lay out your rug backing on the rug frame, ensuring it's stretched tightly and securely.
Step 3: Design Your Rug
- Sketch your rug design on the backing material using a washable marker or chalk. This will serve as your guide while tufting.
- Consider the placement and spacing of your tufted loops to achieve your desired pattern or motif.
Step 4: Load Your Tufting Gun
- Thread your chosen yarn through the needle of the tufting gun, ensuring it's securely attached.
- Adjust the tufting gun settings, such as pile height and loop length, according to your project specifications.
Step 5: Tuft Your Rug
- Starting from one corner of your design, insert the tufting gun needle through the backing material at a 90-degree angle.
- Pull the trigger of the tufting gun to release the yarn loop through the backing material.
- Continue tufting along the outlined design, following your sketch and adjusting yarn colors as needed.
Step 6: Fill in the Design
- Once you've tufted the main outlines of your design, go back and fill in any empty spaces or details.
- Experiment with different loop lengths and yarn textures to add depth and dimension to your rug.
Step 7: Secure the Tufted Loops
- Once you've completed tufting your rug design, flip the rug over and apply a layer of latex adhesive to the back of the tufted loops.
- Press a piece of fabric or rug backing onto the latex adhesive to secure the tufted loops in place.
- Allow the adhesive to dry completely before removing the rug from the frame.
Step 8: Trim and Finish
- Carefully trim any excess yarn from the front and back of the rug using sharp scissors.
- Add any final touches or embellishments to your tufted rug, such as fringe or binding, to enhance its appearance and durability.
Conclusion: Congratulations, you've successfully tufted your own custom rug! With patience, practice, and creativity, you can create beautiful and unique rugs to complement any space in your home. Experiment with different designs, colors, and textures to unleash your creativity and make your tufted rugs truly one-of-a-kind. Happy tufting!

